AIRGRAVER
Hand Engraving Tools for
Engravers, Jewelers & Metal Artists

See what's new


TOOL PHOTOGRAPHS - CLICK HERE TO VIEW

Latest new websites!
       

HOME PAGE

WHAT IS HAND ENGRAVING?

NEW POSTS ON FORUM

About:
   LINDSAY AIRGRAVERS
   LINDSAY POINT
   CLASSIC AIRGRAVER
   PALMCONTROL
 

 FOR ONLINE STORE-CLICK HERE
or use menu below

46 Year
AirGraver History

AIRGRAVERS & PALMCONTROLS

GRAVER SHARPENING

GRAVER BLANKS

ENGRAVING VISES

ENGRAVING SETS

MORE ENGRAVING SETS

ACCESSORIES

MANUAL OPERATED ENGRAVERS

AIR COMPRESSORS

MICROSCOPES

COIN CARVING

BOOKS

NEW POSTS ON FORUM

ON-LINE RESOURCES

HANDCONTROL
ARITISAN
NITRO
   TESTIMONIALS
   PHIL COGGAN
   ROLAND BAPTISTE
   ANDY SHINOSKY
   ADONE POZZOBON
   DELIVERY & SERVICE
NEWS
TOOLS GALLERY
ENGRAVING GALLERY
VIDEOS
ENGRAVINGFORUM.COM

CONTACT-EMAIL

Engraving Resources
EngravingForum.com
   Free online engraving   
       books and videos

   EngravingClasses.com
   EngravingGlossary.com
   EngravingSchool.com


Engraving Positioning Vise - a no cost trick/tip

Do it yourself tip for converting an engraving vise into a positioning vise for centering under a microscope.

Simply remove the screw retainer on your vise to allow both jaws to slide together in the t-slot. 
Below is a video that illustrates the method. 

Below are instructions to remove the screw retainer from a PalmControl vise. 
Removing the screw retainer in the Goliath and Titan vises is similar.


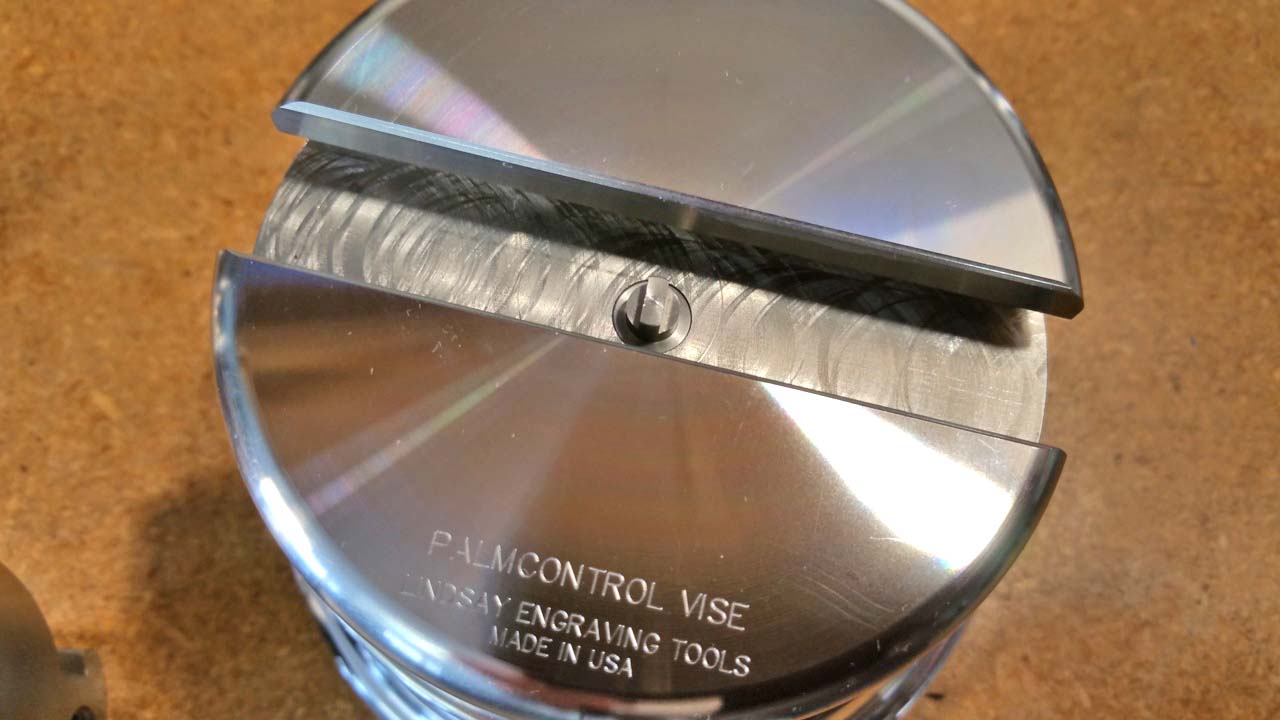
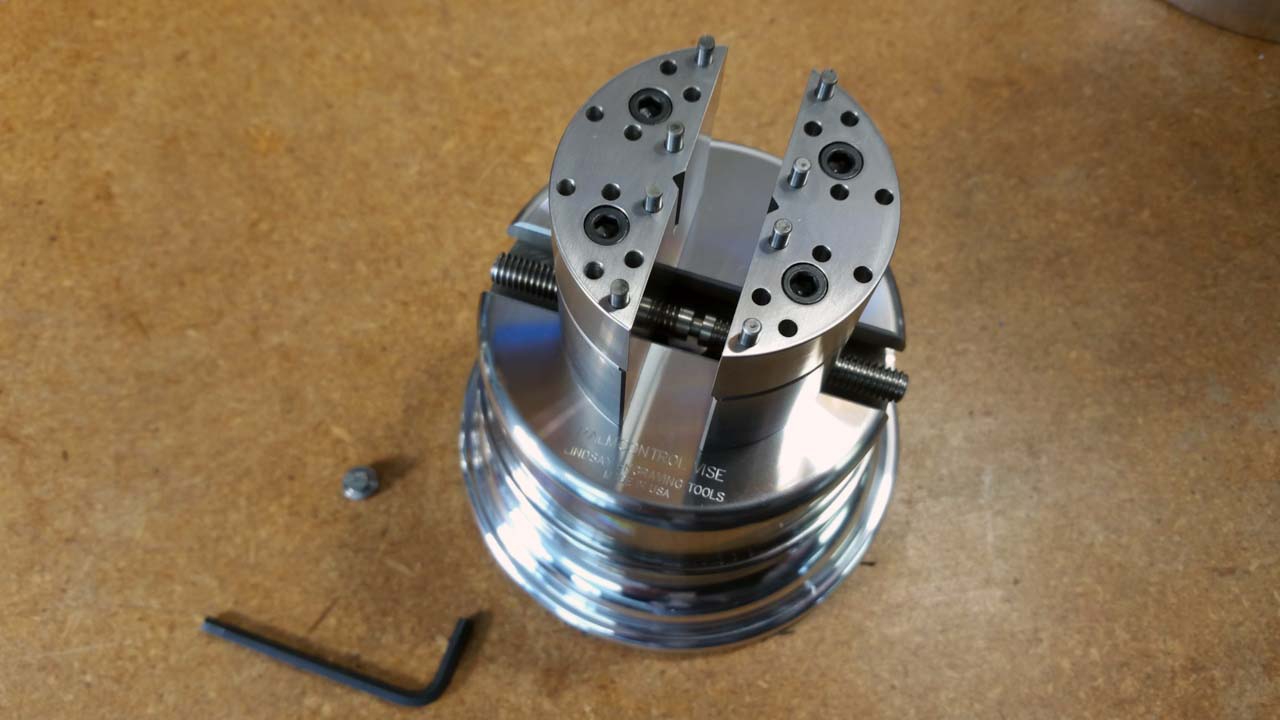
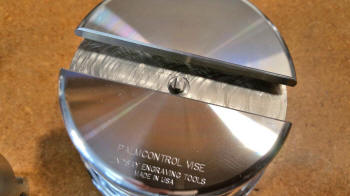
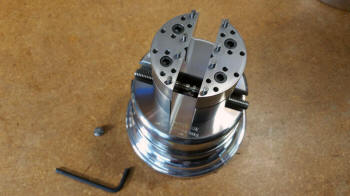
1: To remove the screw retainer, open the jaws all the way until they are out of the T slot.  Be careful to hang on to both of the jaws so that they do not fall.   A third hand is helpful.  Have an assistant unscrew will you catch the jaws at either end.


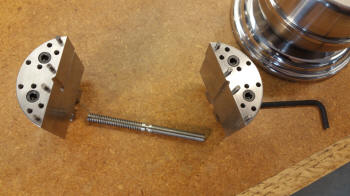
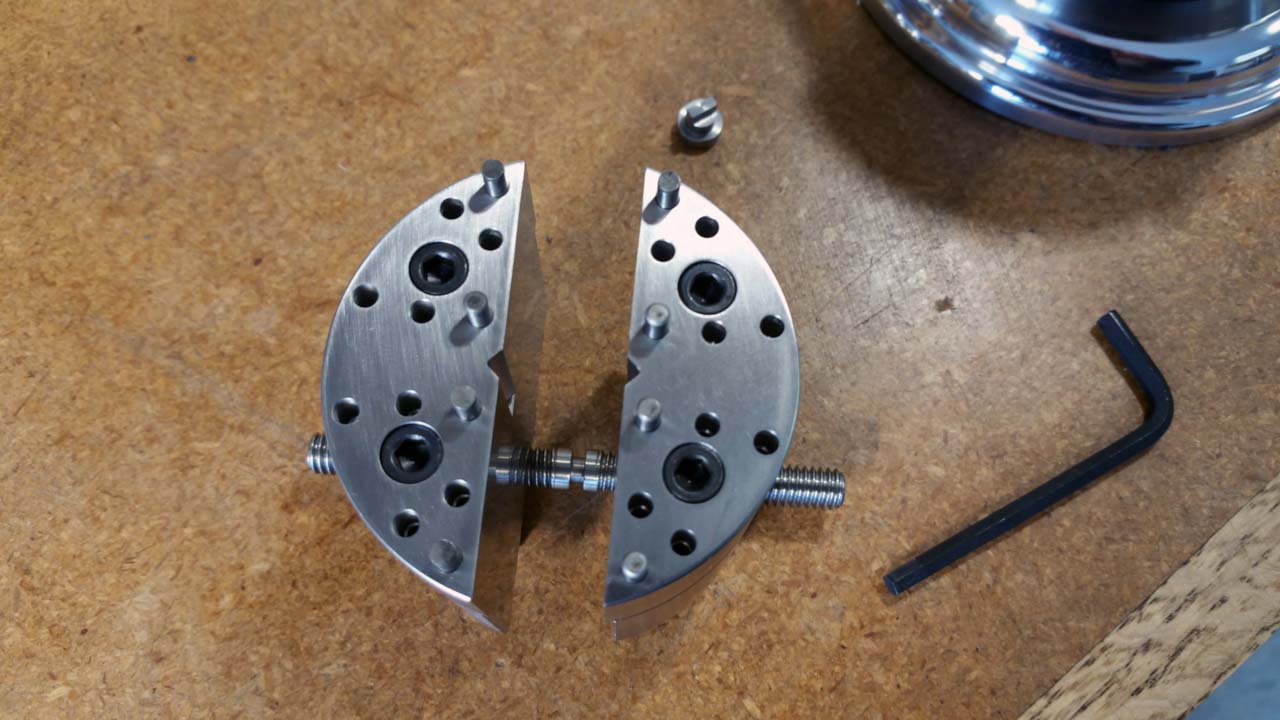
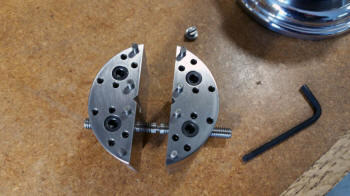
2: Jaws and screw are removed


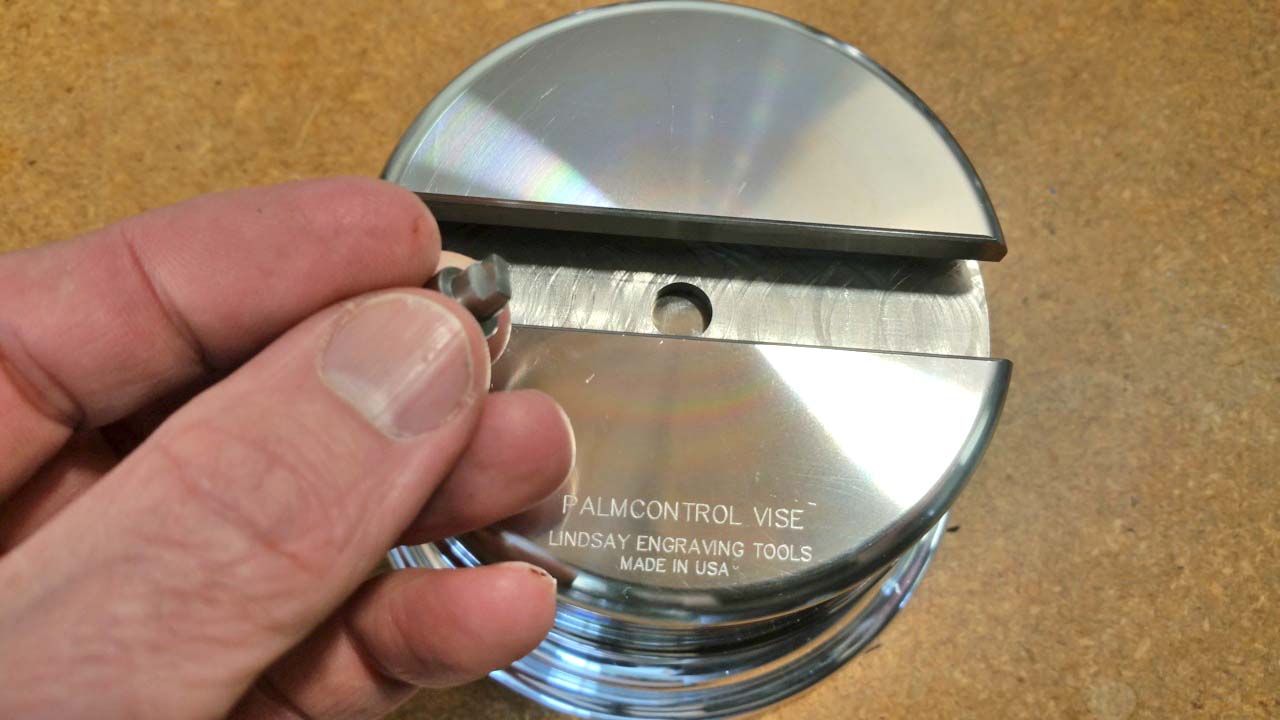
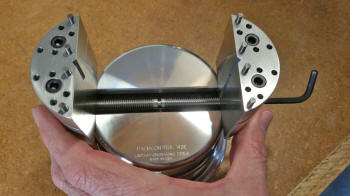
3: The screw retainer can now be reached.


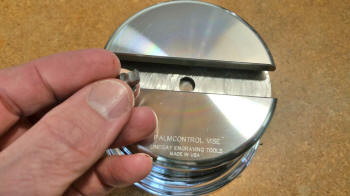
4: Lift up on the retainer to remove it.


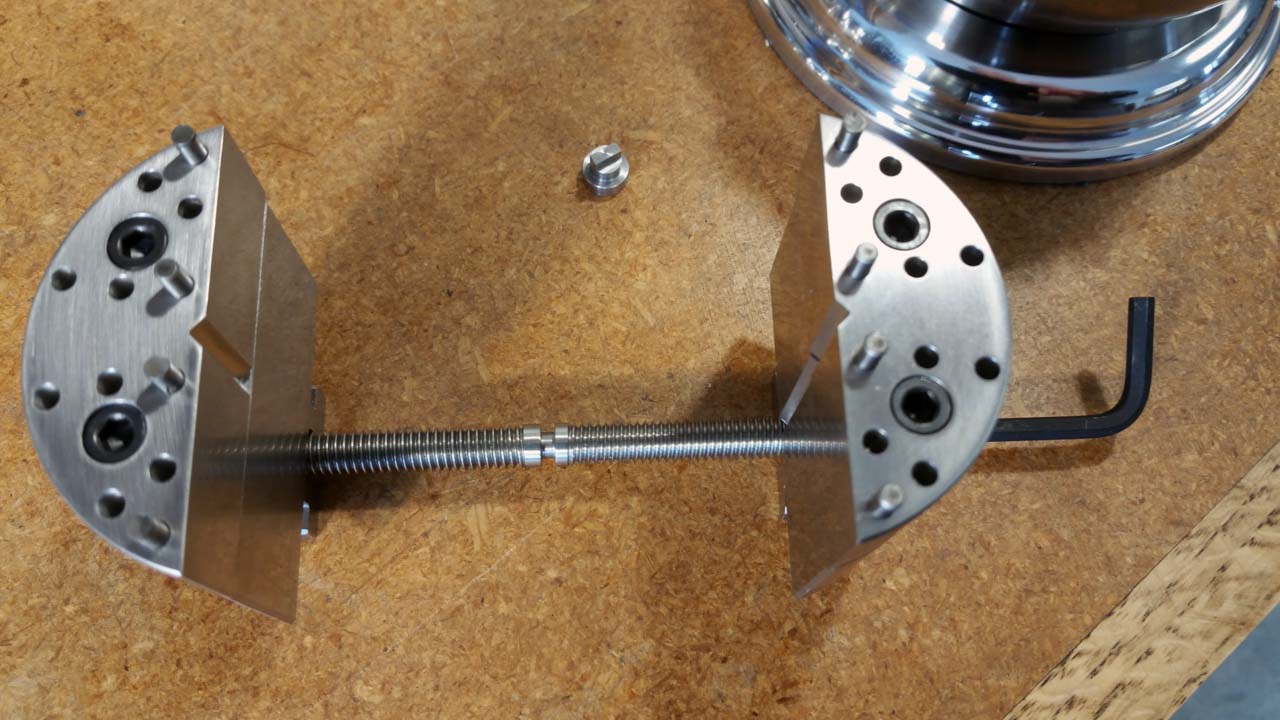
5: Now line up the jaws while on your bench screw them together.  Remember one jaw has right hand threads, the the other left hand.  In other words, the jaws will not thread on if reversed.  To double check that you are threading a screw end to its matting jaw, you may first try threading it on one end of the screw or the other to see which it fits.


6: Jaws are now held together with screw. 


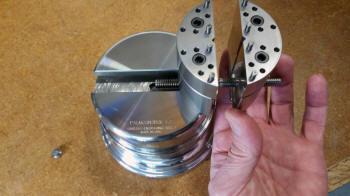
7: Slide the jaw and screw assembly into the T slot.  Be careful to take your time to align the T carefully. 


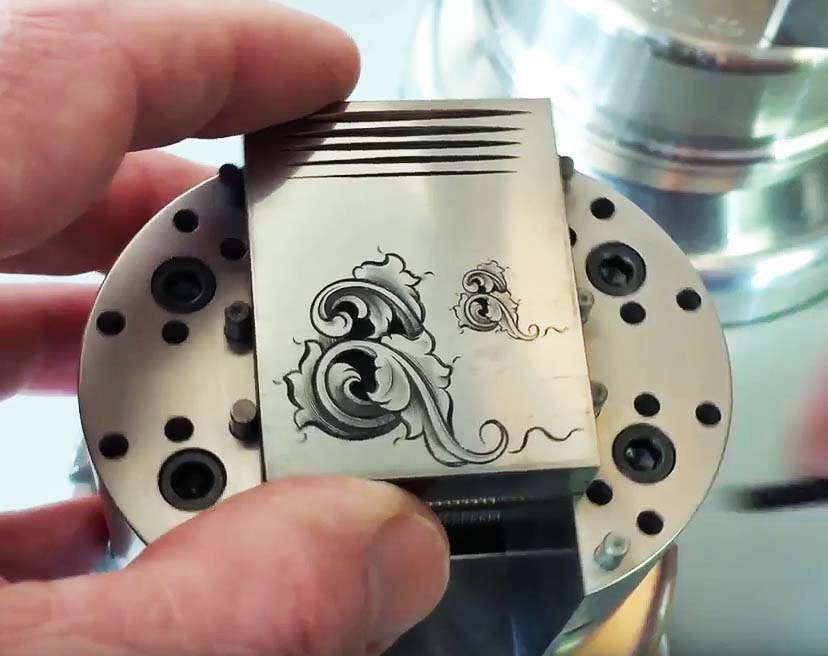
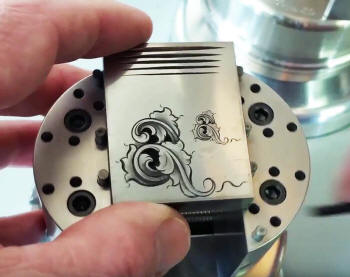
8: Vise is now ready for use in positioning. 

NEVER - PUSH, FORCE OR HAMMER TO ASSEMBLE OR DISASSEMBLE YOUR VISE!  DAMAGE CAN OCCUR IF FORCED!   IN FACT, DAMAGE CERTAINLY WILL OCCUR IF HAMMERED!

Vises home page link


AirGraver® Patent & Trademark Information

Warranty & Voiding

Translate Site to Language

Arabic Japanese
Chinese Korean
French Portuguese
German Russian
Italian Spanish

ArtGraver.com
EngravingForum.com
EngravingLessons.com
AirGraver.com
EngravingSchool.com

HandEngravingClasses.com
EngravingGlossary.com
LindsayEngraving.com
Contact - Email